For the A-to-Z Blogging Challenge this month, I'm going to be tackling topics relating to the wild world of miniature painting - by that I mean tiny models used in board games, tabletop roleplaying games and wargames. Stop by every day to learn a little about my newest hobby and obsession!
***
A base coat of paint is the first coat of paint you put on a miniature after priming.* The base cost will be a different colour for different parts of the miniature - ie, skin will be one colour, armour will get another colour, and so on. Applying a base coat is sometimes called "blocking" (hey, another "B" word!). Usually the base coat will be a “mid-tone,” something to which you can add dark colours for shading, and brighter colours for highlights.
This leads to a little lesson about colour choice: You should try to choose what colours you’re going to use on your model before you get started - this will save a lot of headaches later. When choosing your colour for any part of the model, it’s also a good idea to choose three colours - your mid-tone (which will be the base coat), your shade (a dark version of your mid-tone) and a highlight (a lighter version).
The Army Painter (see yesterday's post) has a handy cheat sheet to give you some colour triad ideas, but every major paint manufacturer makes their own. Here's one from another popular paint company, Reaper:
*Note: The "base coat" is not to be confused with the "primer." A primer is also called an "undercoat." It's the layer of usually neutral-coloured paint (like black, white or grey) that is added to the bare plastic or metal of the model, that helps the later paint layers adhere.
Bonus “B”: Basing
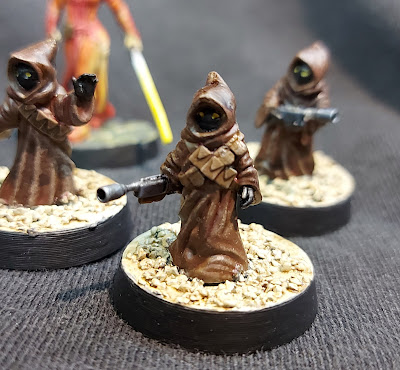
Basing is decorating the “base” of your miniature. Often bases will just come as plain black or grey plastic, so it’s up to you to add stylized elements that enhance the overall look of the model. Popular elements include gravel, rocks, and grass, which give the mini the appearance of being part of the terrain. For larger minis, you can add even more complex elements, and I’ve seen some pretty creative uses of what is ostensibly just the “stand” that holds up your mini.


3 comments:
That last base is really impressive.
It's pretty amazing. Those tiny mushrooms are unreal.
You did great job showing the before during and after. A basecoat is always important. Seeing what you are doing here reminds me of my mom.
Post a Comment